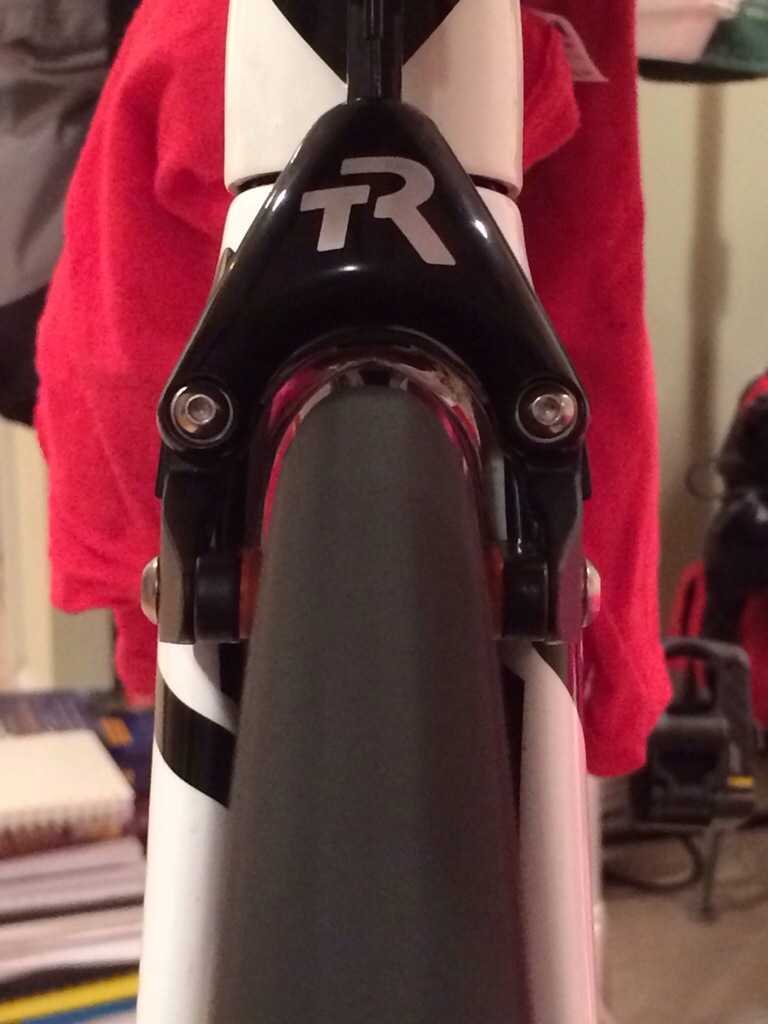
They’re not your everyday conventional road brakes…So installation is also not conventional! The instructions provided by TriRig was simply a YouTube video that was embedded on their website. It’s straight forward and gives you all you need to know to properly install the brakes.
To spare you from the gritty details, here’s what I had to play around with:
– size of washer for both the front and rear brake. Using the smaller one rubbed the brake on the front fork.
– side adjustment of the brake pads did not allow for vertical play, so I had to be very precise when installing the both the front and rear, especially the rear due to the adapter.
But after about an hour of sizing the perfect cable length, with the right ferrule, and just the right about of ceramic lube, I had successfully installed these brakes.
I’m a bit of a weight weenie, so now I’m proud to say that with these brakes, my Cannondale Slice is under 19 pounds with cages, and a very heavy training rear wheel.
Here’s some photos! Did I do a good job?


I sure do!


Got the same bike, different color im planning to drill a hole on the back to get the cable into the frame under seatpost
I wouldn’t recommend drilling a hole in the carbon framework